1 February 2018

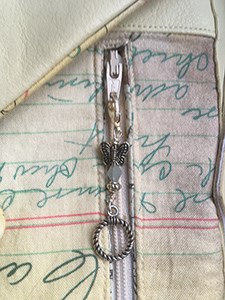
I like to add a finishing touch to my hand made bags by making a fancy zip pull, you can also use these as a decoration, I have used one to add some bling to the bag flap on this bag. Here is how to make one.
What you need:
Tools
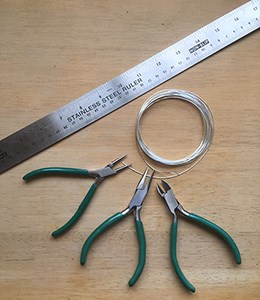
Round nosed pliers, flat nosed pliers (don't worry if you don't have these, you can get away with just the round nosed), cutters.
Beads and findings
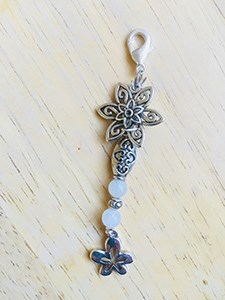
Lots of choices here, Bali and tierracast type beads are good, Swarovski crystal pearls look great and add a bit of bling. You will need one piece for the bottom of the zip-pull with a ring at the top, I found lots of different designs at my local hobby shop in the jewellery section - flowers, butterflies etc. Alternatively you could use a bead at the bottom and use a headpin instead of wire, just thread the bead onto the headpin and continue at Step 3.
Wire
I used 19 gauge silver plated wire as this is what I had handy, but you could use any similar jewellery wire. Coloured wire would look good, 20 gauge wire would work as well. IMPORTANT Make sure before you start that the wire will go through all the beads and the lobster clip you have chosen.
Small Lobster Clips
One for each zip pull to attach to zip
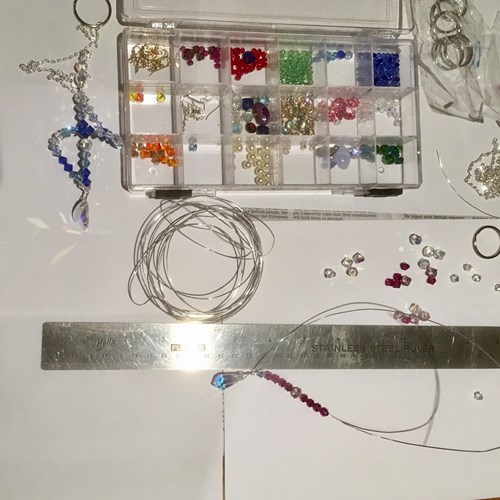
Step 1
Lay out your beads to find a pleasing design.

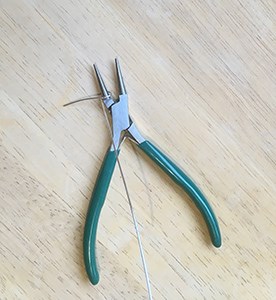
Step 2
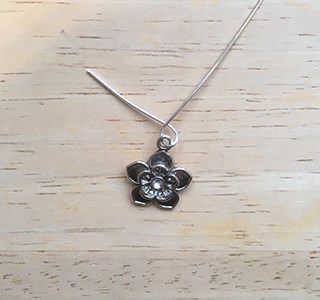
Cut a length of wire, you need the length of the finished zip-pull plus about 3 inches. Take you needle nosed pliers, place them about an inch from the end of the wire and wrap the wire around one side to form a loop.
Step 2
Thread your bottom finding onto the wire, placing the ring on the finding in the loop you just made.
Then push the free end of the wire back around the wire above the loop and wrap around twice to secure the finding onto the wire.
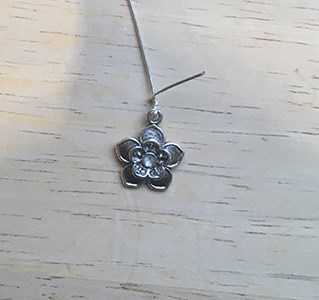
Then cut off the excess wrapped wire and pinch it to the main wire with your flat nosed pliers
Step 3
Thread your beads onto the main wire in the pattern you decided on in step 1
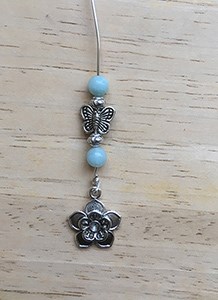
Place your needle nosed pliers about 1 inch from the last bead and wrap the wire around one side to form a loop.
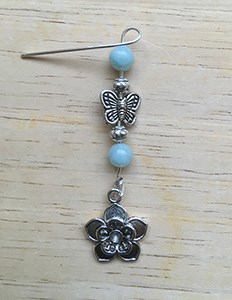
Step 4
Thread the small lobster clip onto the wire, placing the loop of the lobster clip in the loop you just made in the wire. Then use your fingers or the short nosed pliers to wrap the end of the wire around the main wire to secure it.

Cut off excess wire with the wire cutters and use your short nosed pliers to pinch the end of the wire into the main wire.

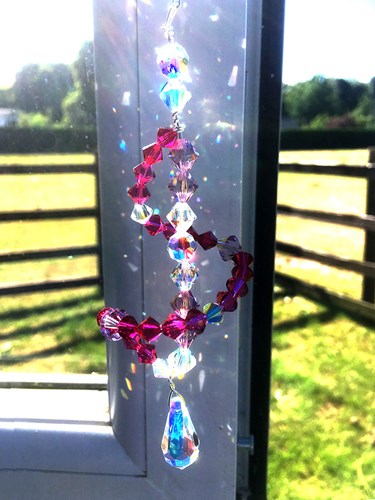
And you're done. Clip your new ring pull onto a bag zip or wherever you want some extra bling and admire your work !
I love to hear how people use these tips, so please add a comment and tell me how you made and used yours.
If you don't want to make your own please check out my accessories page where I have ready made zip pulls for sale.
 Happy New Year