5 June 2021
Find out more about the medium I use to create the sculptures and jewellery in my shop, and get an insight into how they are created.
If you've never heard of polymer clay that's not really surprising. It's a relatively new medium but gaining popularity quickly due to how versatile it is. Got an idea of something to make ? Chances are you can do it with this clay.
Polymer clay is oven baked to cure it, you can use an ordinary domestic oven, you don't need an expensive kiln or hours firing, most items are fully cured in under an hour. It comes in many varieties, one of the skills I have learned is which clay to use for different projects. Some is very soft and great for the more traditional types of sculpture, while others are firmer and hold their shape better for modelling, for example, the feathers on some of my bird sculptures, or the petals on my sunflower clock.
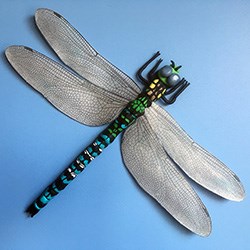
It comes in many colours, which are also mixable to create new colours, and different effects like translucent, which I use for dragonfly and bee wings, or pearl which I use to create shimmering jewellery. You can add many different mediums to it, like gold and silver leaf, or coloured mica powders, these are wonderful for creating beads for making necklaces and earrings. It can also be coloured using acrylic inks.
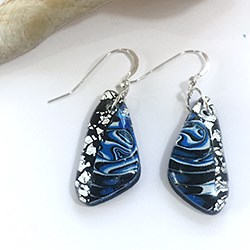
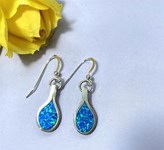
One thing I love to experiment with is creating faux gemstones, you can get the most wonderful effects with a variety of techniques. I have some faux opal jewellery in my shop, created using dichroic film and translucent clay which gives a real depth to the beads. I have also experimented with faux lapis lazuli and agate, and may add some of these to my shop in the future.
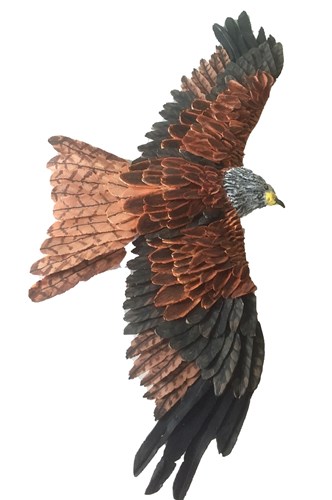
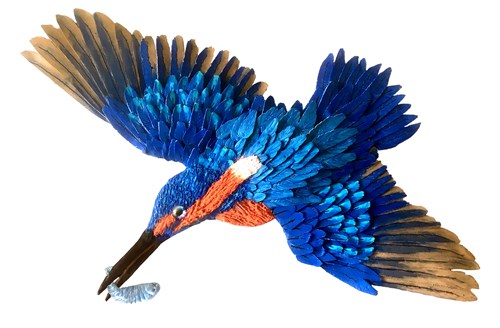
My other love is sculpture. There are many different techniques used but I like to make my sculptures by modelling each part in coloured clay, then assembling and baking in the oven. To make the Red Kite above I studied many images of their feathers, and some real feathers I picked up at my local golf course, then made lots of each different type of feather. I created the bird shape from clay then arranged the feathers on it in several stages, baking the sculpture at each stage. I completed it by using artist grade acrylic paint to pick out the details. It's quite a time consuming and delicate process to complete one of these larger pieces.
The butterflies, bees and dragonfly are made in a slightly different way, first I draw the wing colours or markings freehand in Photoshop, then print them out before transferring them onto thin sheets of clay which are baked in the oven. Then I cut out the wing shapes, model the body with clay and attach the wings, then bake the whole lot in the oven.
I am still finding new and exciting ways to use this clay, it's an ongoing learning experience which I am thoroughly enjoying. One of the most satisfying aspects is having an idea, working out in my head how to put it into practice, then seeing it become something real that has never existed before. So who knows what will turn up in my shop, please check back from time to time to see what my imagination has brought to life.
I hope you enjoyed this small insight into polymer clay and how it's used. You can see more of my larger sculptures in the Gallery, and please have a look at the clocks, wall art and jewellery in my shop.